Master the Art: How to Install WordPress Manually in 6 Easy Steps
How to Install WordPress Manually: A Step-by-Step Tutorial
Looking to set up your website with WordPress and learn how to install WordPress manually but don’t know where to start? You’ve come to the right place! In this tutorial, we’ll guide you on how to install WordPress manually on your web hosting server. This step-by-step guide is perfect for beginners who want to learn the basics of WordPress and take full control of their site. Follow along, and let’s get started on building your website
Why Learn to Install WordPress Manually?
Learning to install WordPress manually empowers you to understand the setup process in-depth, giving you complete control over your website. It’s a valuable skill for troubleshooting, customizing your site, and managing hosting environments efficiently. Plus, it’s a great way to gain confidence in handling technical aspects of web development
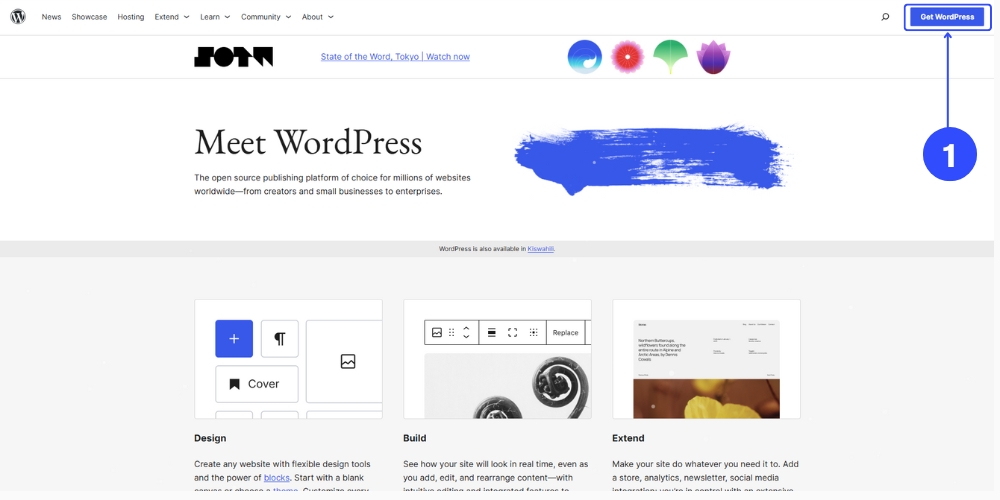
Step 1: Download WordPress
- Visit the official WordPress website at wordpress.org
- Click on the “Get WordPress” button
2. Click on the “Download WordPress ” button
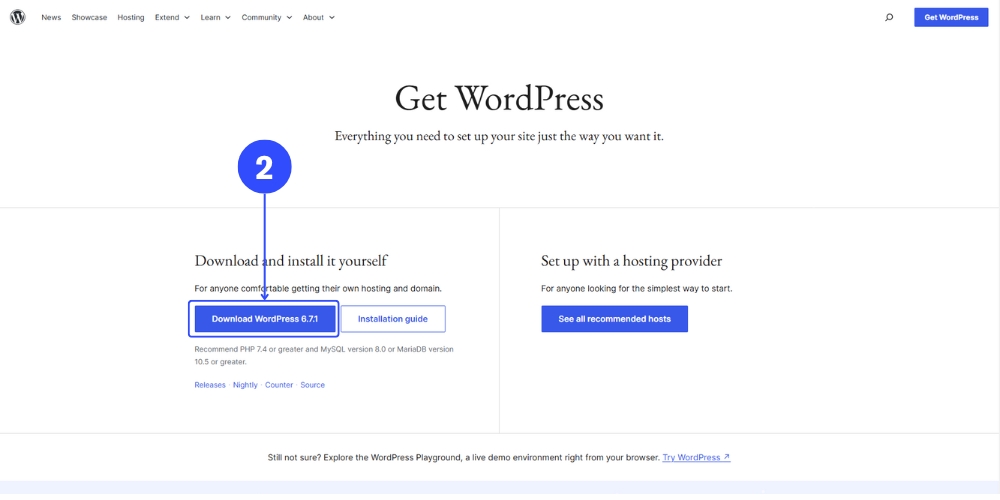
3. Save the WordPress ZIP file to your computer
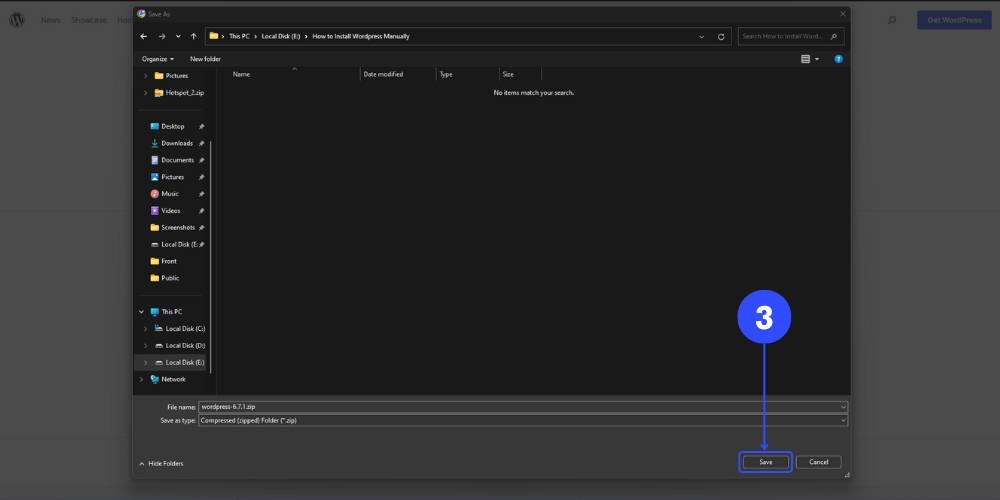
Always download the latest version for improved security and features
Step 2: Upload WordPress to Your Web Hosting Server
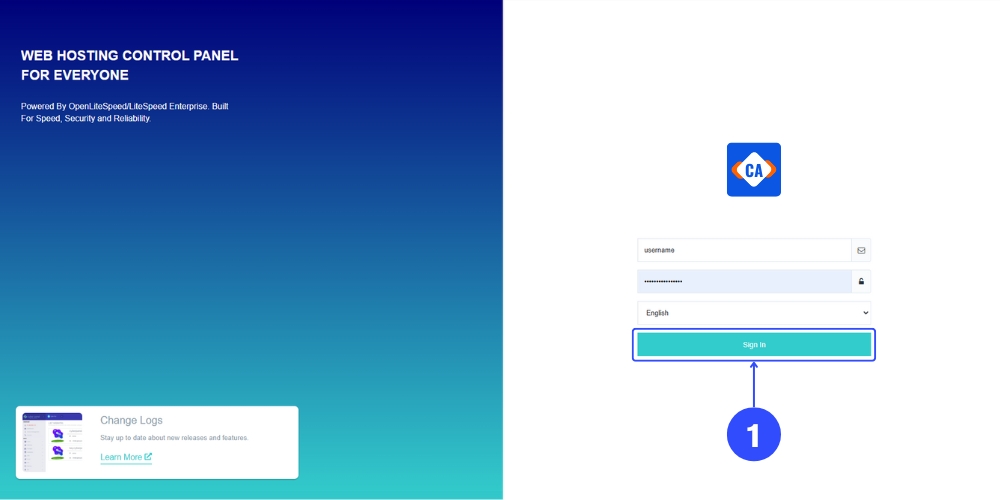
- Log in to your web hosting control panel or use an FTP client like FileZilla. ( Use host of your choice )
2. Navigate to the File Manager section and open the public_html folder (or your target directory)
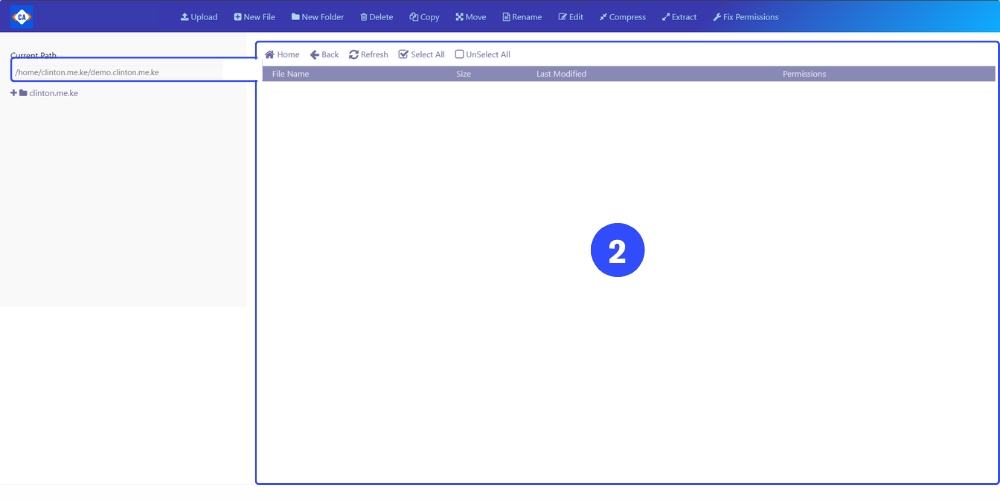
3. Upload the WordPress ZIP file and extract its contents into the directory
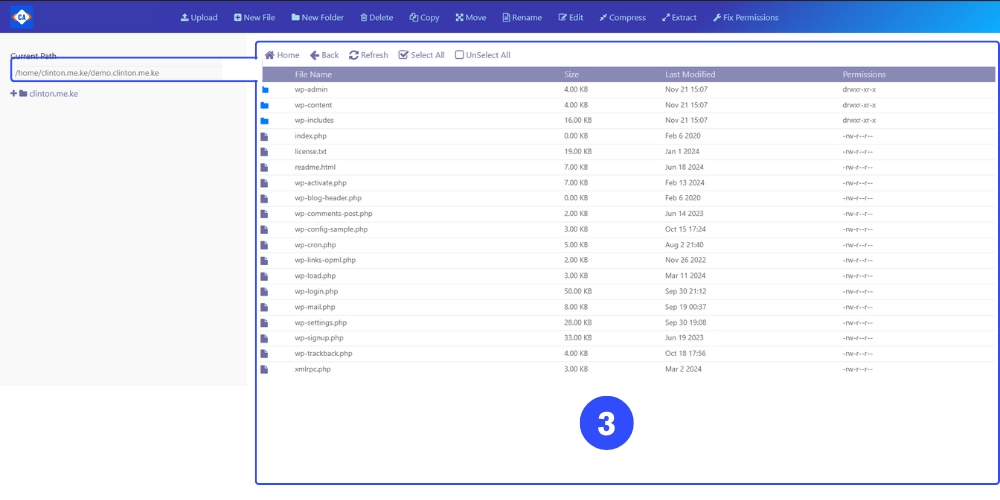
This step ensures the WordPress core files are properly placed in your root directory
Step 3: Create a MySQL Database for WordPress
- Go to the Databases section in your hosting control panel and select MySQL Database
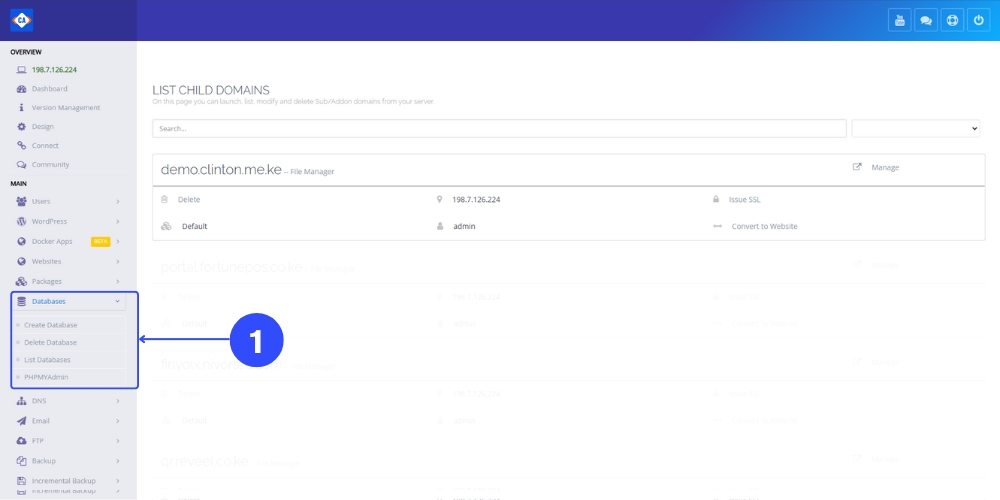
2. Create
- A new database
- A database user
- Assign the user to the database with full privileges
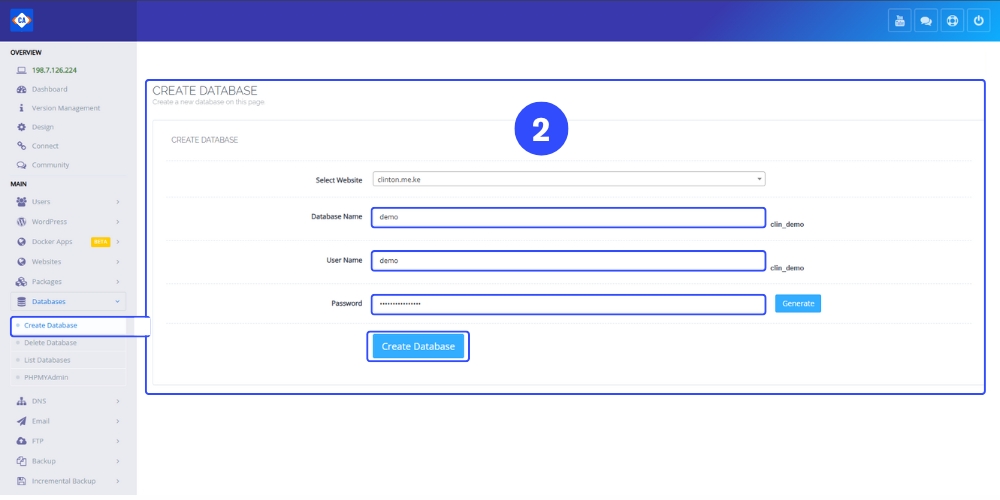
3. Take note of the following
- Database Name
- Username
- Password
You’ll need these credentials for the WordPress configuration
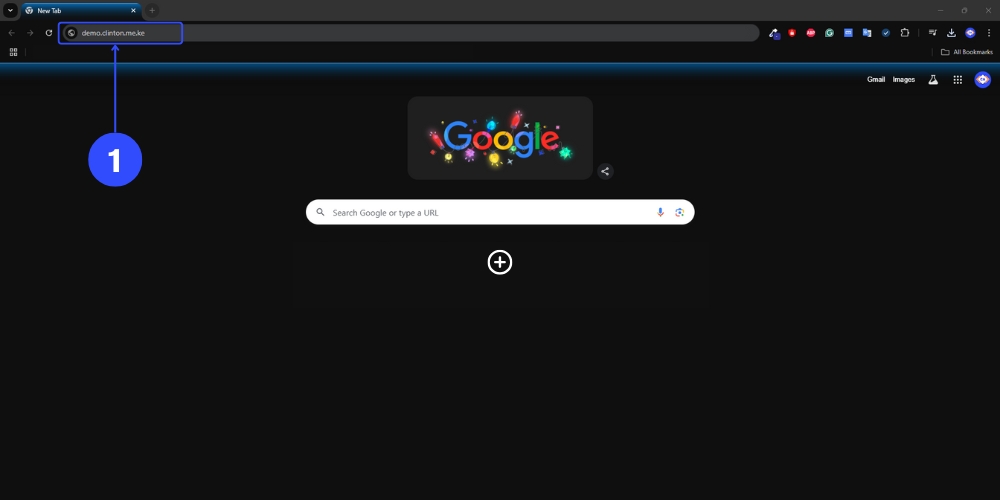
Step 4: Configure WordPress
- Open your browser and enter your website URL to access the WordPress setup screen
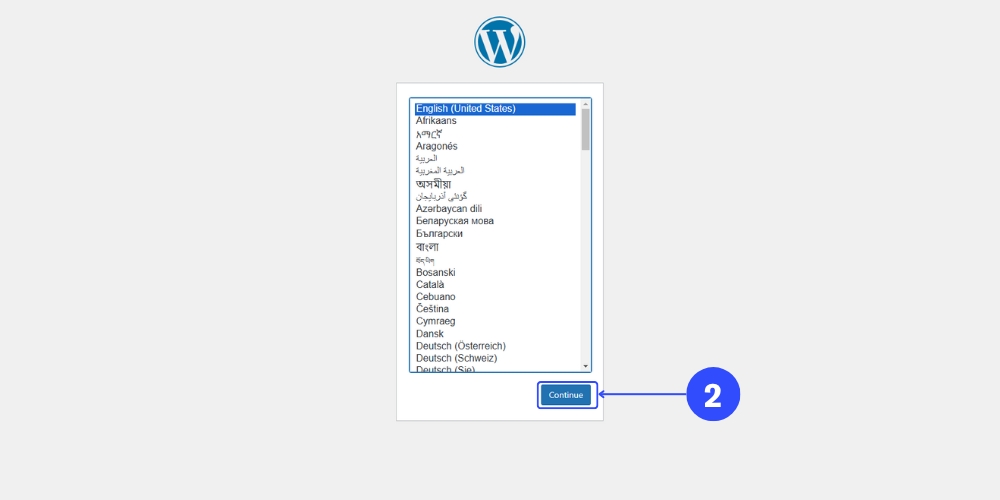
2. Select your preferred Language and click Continue
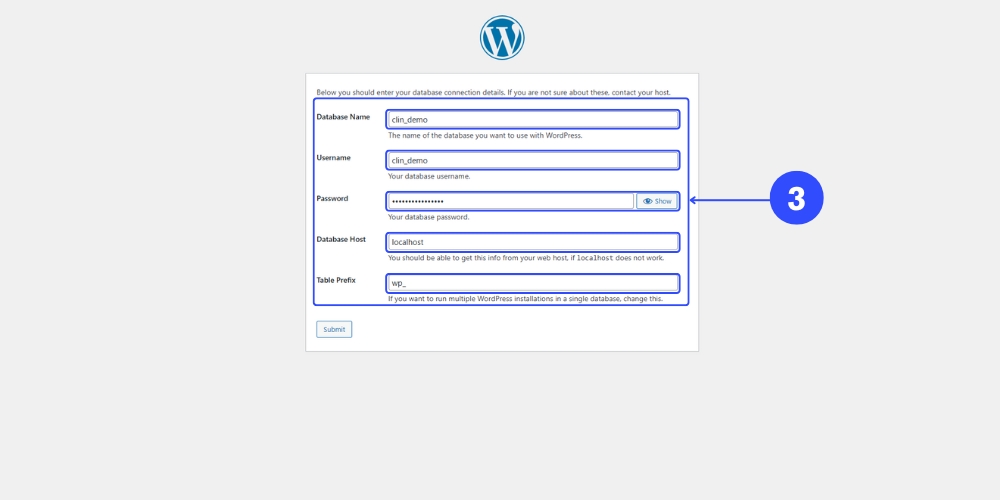
3. Enter your database details
- Database Name
- Username
- Password
- Database Host (default: localhost)
- Table Prefix (default:
wp_or a custom prefix for extra security)
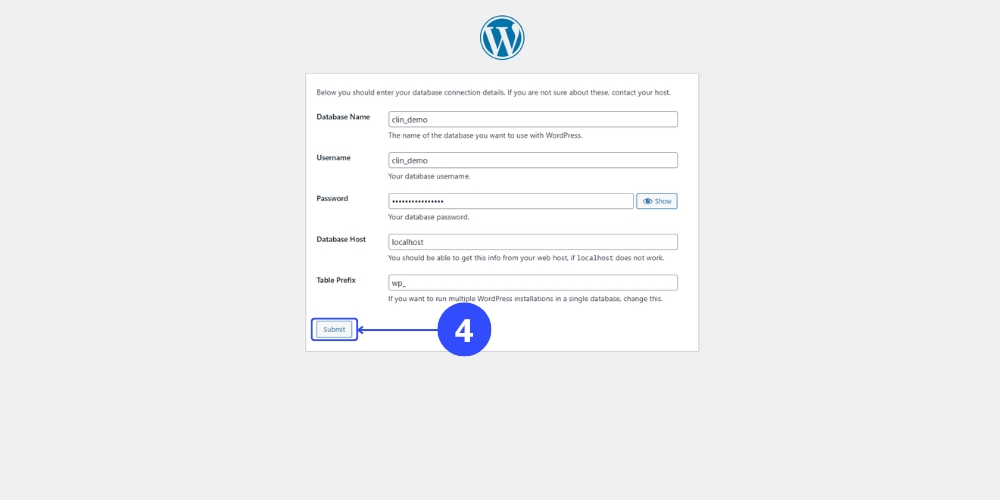
4. Click Submit, then select Run the Installation
Step 5: Set Up Your WordPress Website
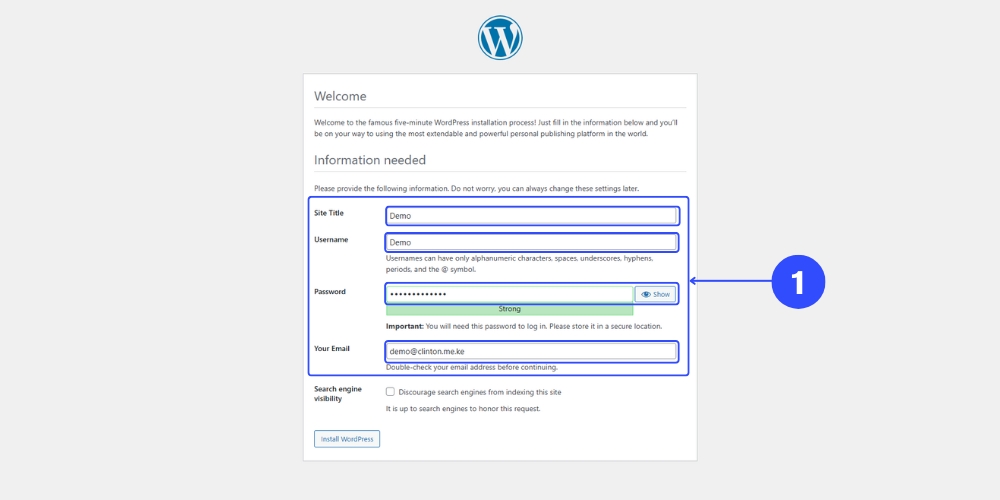
1. Configure your website settings
- Enter your Site Title
- Create an Admin Username and a strong password
- Add your Email Address for site administration
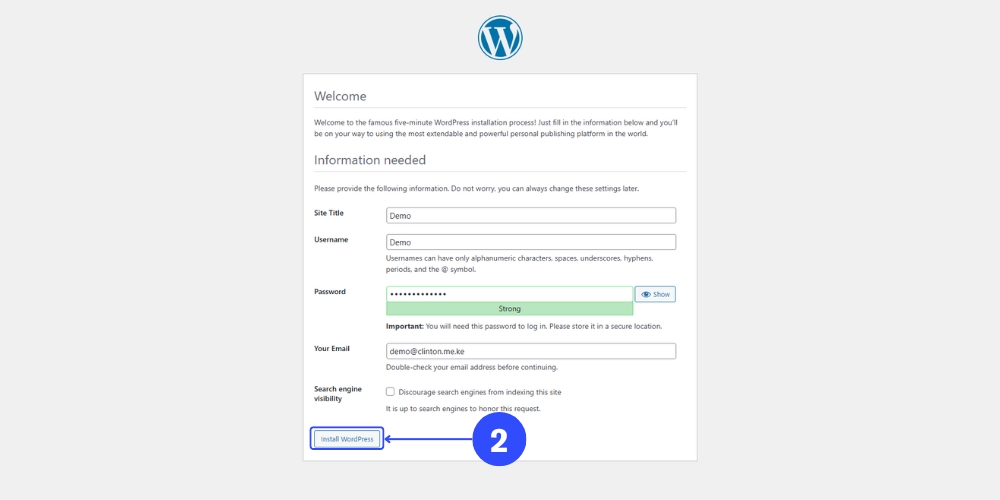
2. Click Install WordPress to finalize the setup
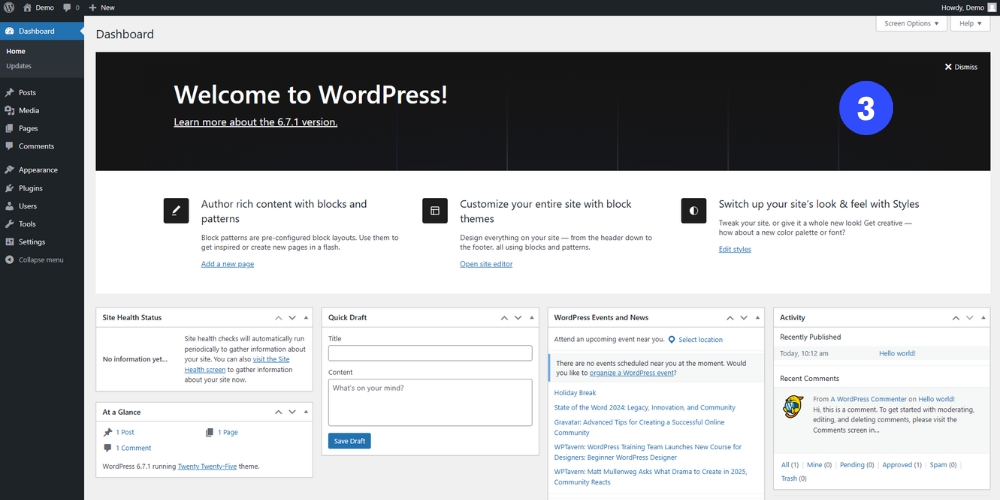
Step 6: Log In and Start Building
- After installation, you’ll see a success message
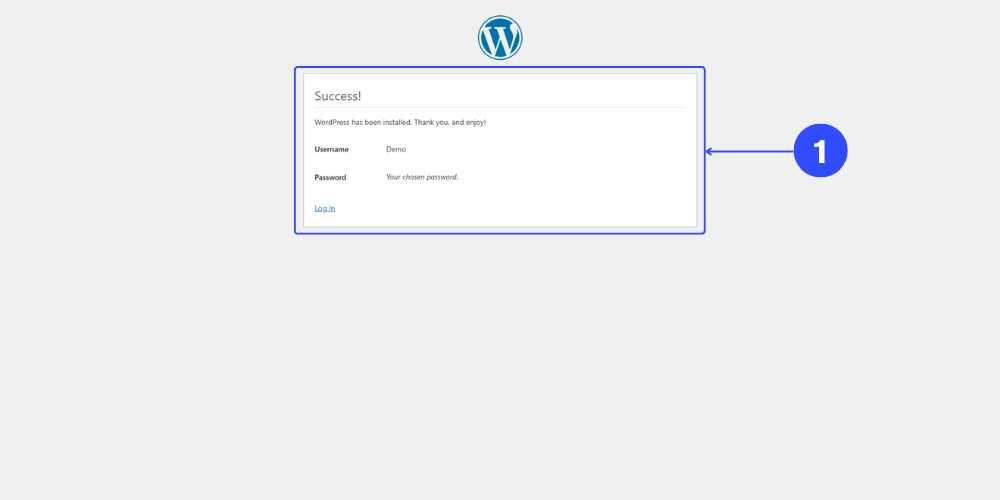
2. Click Log In and enter your admin credentials
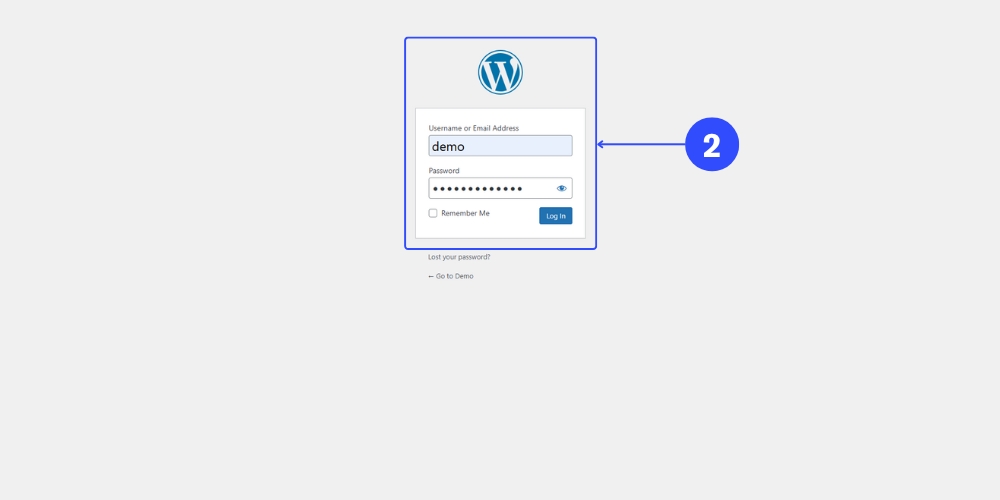
3. Congratulations! You’ve successfully installed WordPress and can now start building your website